How to Erase an iPhone Before You Sell or Give It Away
Erase an iPhone before selling it: back up, unpair your watch, sort the SIM or eSIM, turn off Find My and Activation Lock, then wipe and check the result.

To erase an iPhone before selling it, back it up first, unpair any Apple Watch, deal with the SIM or eSIM, then go to Settings > General > Transfer or Reset iPhone > Erase All Content and Settings and confirm with your passcode and Apple Account password. That last step signs you out, switches off Find My and removes Activation Lock, so the buyer can set the phone up as their own.
The wipe itself is quick. Most problems come from doing things in the wrong order: erasing before a backup has finished, or handing over a phone that is still tied to the seller's account. The checklist below keeps everything in sequence.
Before you erase: four things to do first
1. Make a fresh backup
Once the phone is erased, anything that was not backed up is gone for good. Use an iCloud backup if you have the space, or make a local copy on a laptop or desktop; the steps are covered in how to back up an iPhone to a computer. Check the date and time of the latest backup before moving on rather than assuming it ran overnight.
2. Unpair an Apple Watch
If a watch is paired, unpair it from the Watch app on the iPhone. Doing it this way also saves a copy of the watch's data to the phone, so it ends up in the backup you just made. Run the backup again afterwards if the watch was unpaired after the first one.
3. Sort out the SIM or eSIM
A physical SIM card simply comes out with the SIM tool or a straightened paper clip. An eSIM is different: during the erase you are asked whether to keep or remove it. If your new phone is ready and the plan has already moved across, removing it is the tidy choice. If you are unsure, ask your carrier how they want the transfer handled before you wipe anything, because a deleted eSIM usually has to be reissued.
4. Switch off iMessage if you are leaving the iPhone world
Moving to a phone that is not an iPhone? Turn off iMessage and FaceTime in Settings while the old phone still has your SIM. Otherwise, texts from iPhone users can keep trying to reach you as blue bubbles that never arrive.
Erase the iPhone step by step
- Open Settings and tap General.
- Scroll down to Transfer or Reset iPhone.
- Tap Erase All Content and Settings. A summary appears of what will be removed, including apps, data and your Apple Account on the device.
- Tap Continue and enter the passcode.
- Type your Apple Account password at the prompt, which switches off Find My and Activation Lock.
- Choose what happens to any eSIM, then confirm the erase.
The phone restarts and, after a few minutes, shows the multilingual hello screen. That screen is the sign that the job is done.
iPhones encrypt their storage by default, and erasing throws away the keys needed to read it. In practice, that means the old contents cannot be read back by the next owner, even with recovery tools.
What if the phone is no longer with you?
Sometimes a phone has already been sent to a trade-in service or handed to a relative before anyone thought about wiping it. You can still erase it remotely. Open the Find My app on another Apple device you own, or sign in to Find Devices through iCloud in a web browser, select the old iPhone and choose Erase This Device. Once the erase has run, choose the option to remove it from your account so Activation Lock is released.
Common mistakes and how to avoid them
| Mistake | What happens | Fix |
|---|---|---|
| Deleting contacts or photos one by one | With iCloud syncing on, the deletions spread to your other devices | Leave the data alone and use Erase All Content and Settings instead |
| Erasing without the Apple Account password to hand | Activation Lock stays on and the buyer cannot set up the phone | Reset the password first, or erase remotely and remove the device from your account |
| Skipping the final backup | Recent photos, messages and app data are lost | Check the backup timestamp before you begin |
| Forgetting the SIM card | Your number travels with the phone | Remove the card and keep it until the new phone is working |
| Leaving the phone on your account list | It still appears as one of your trusted devices | Remove it from the device list in your Apple Account settings |
A quick final check before handing it over
- The phone shows the hello screen and asks for a language, not a passcode.
- The old iPhone no longer appears among your devices in Settings on your other Apple hardware.
- The SIM tray is empty, or the eSIM has moved to your new phone.
- The case and any screen protector you want to keep are off, and the charging port is clean.
- Any cards that were in Wallet now show only on your new device.
If the screen or battery needs attention before the sale, sort the repair first and erase afterwards, since a repair shop may need to test the phone with a passcode. The pros and cons of independent shops are covered in our look at third-party iPhone repair services.
Questions people often ask
Does erasing an iPhone remove iOS?
No. The operating system stays in place. Erasing removes your data, settings and apps and returns the phone to the setup screen, ready for a new owner.
Is a factory reset enough to protect my data?
For most people, yes, as long as you use Erase All Content and Settings rather than deleting things by hand. Because of the built-in encryption, there is no need for third-party wiping software.
Should I clear the cache or delete apps first?
There is no need. A full erase removes cached files along with everything else. Clearing caches is a fix for a phone you are keeping, which is the subject of how to clear the cache on an iPhone.
What does the buyer need from me?
Nothing beyond a phone that shows the hello screen. If they are asked for your Apple Account during setup, Activation Lock is still on and you will need to remove the device from your account.
Good places to start
 BusinessMaking the Most of Your Space: Strategies for Efficient Use of Waste Containers2 min
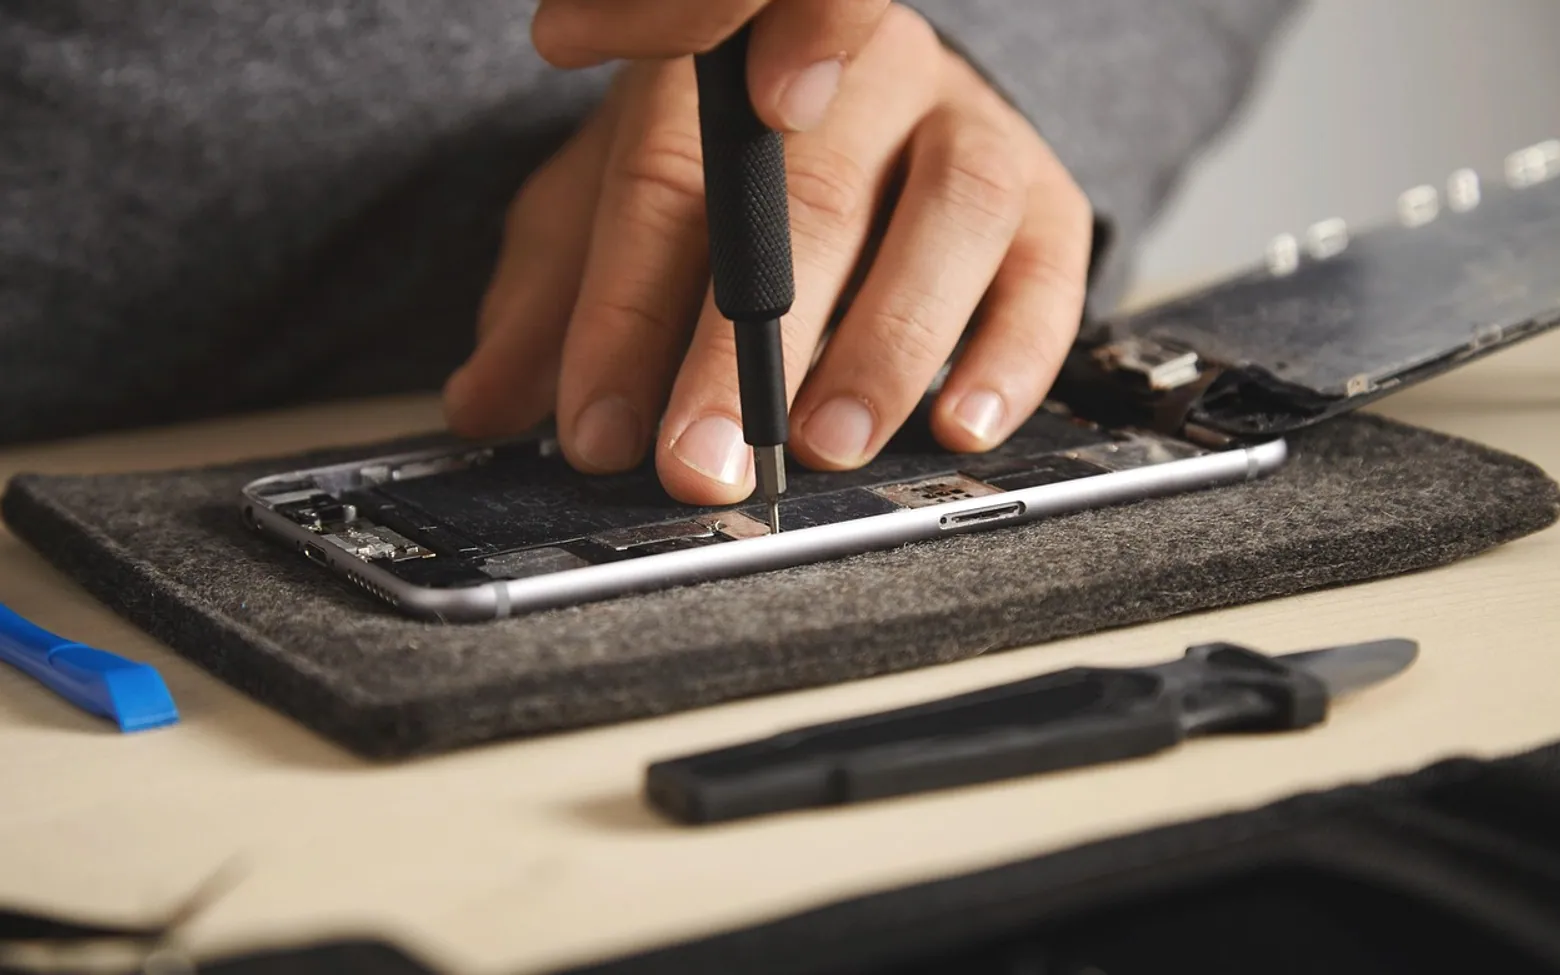 iPhoneThe Rising Popularity of Third-Party iPhone Repair Services2 min
 InvestingFirst Charge vs Second Charge Bridging Loans: What’s the Difference?2 min
 ApplicationsMastering Visual Storytelling with Cinepunch Video Creation Suite2 min